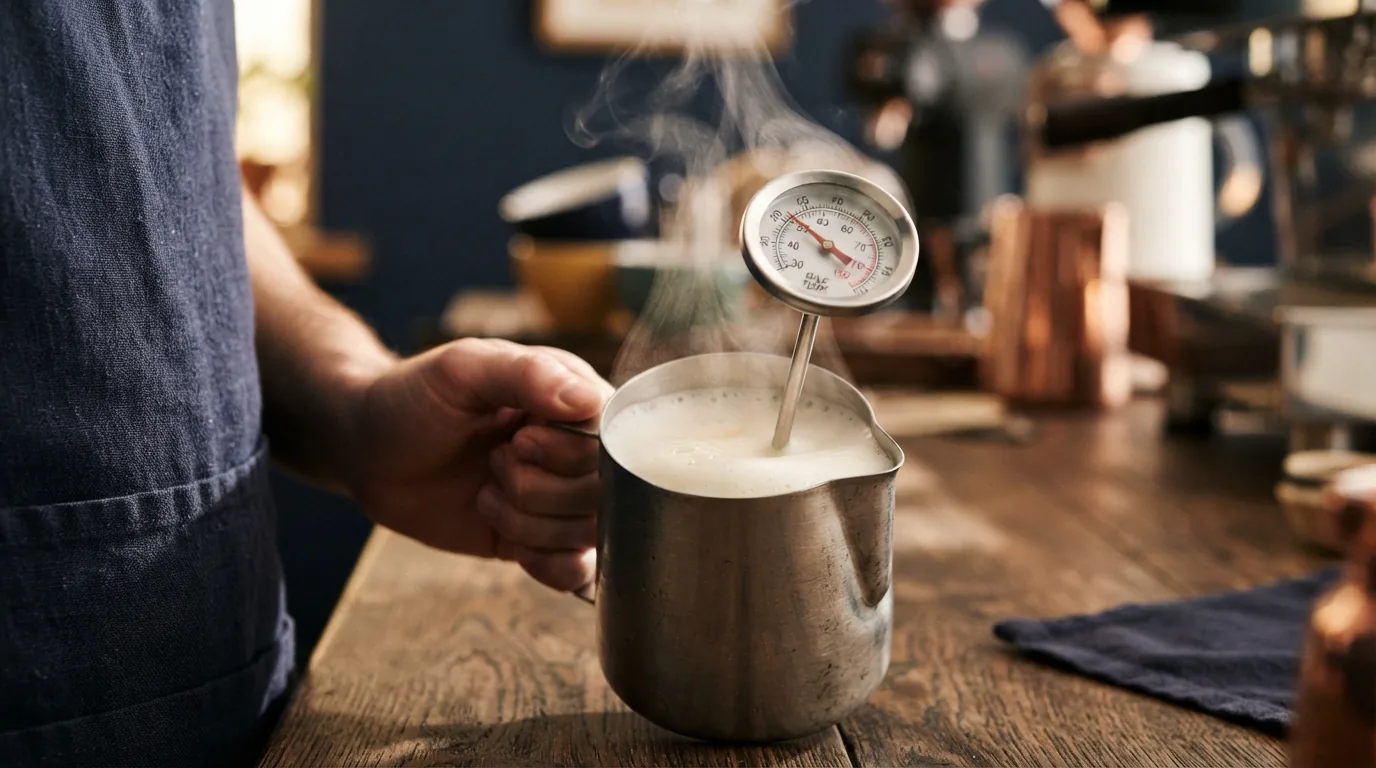
The espresso shot gets most of the attention, but in a milk drink, the milk is doing at least half the work. Properly steamed milk is sweet, glossy and pourable; badly steamed milk is either a thin, watery liquid or a stiff meringue-like foam that won't integrate into the cup at all. The difference between the two comes down to a handful of physical variables, all of them genuinely learnable with a bit of deliberate practice.
What's Actually Happening When You Steam Milk
Steam does two things to milk at once: it heats it, and it introduces air. The heat denatures milk proteins and slightly caramelizes its natural sugars, which is the real source of steamed milk's noticeable sweetness compared to cold milk. The air, injected in a short burst early in the process, creates tiny bubbles that get folded and refined into microfoam as the milk spins in a whirlpool. Genuine microfoam has bubbles small enough that the texture reads as silky rather than foamy, closer to wet paint than to whipped cream.
Pitcher Angle and Wand Position
Tilt the pitcher slightly and position the steam wand tip just below the milk's surface, off-center rather than dead center, so the jet of steam catches the milk at an angle instead of straight down. That angle is what creates the whirlpool, a constant spinning motion that folds incoming air evenly through the whole volume of milk rather than concentrating bubbles in one spot. A wand positioned too deep produces mostly heat with little texture; too shallow, and it sprays milk everywhere instead of aerating it cleanly.
Temperature: The Number That Matters Most
Steam milk to roughly 140 to 150°F for the best balance of sweetness and texture. Past about 160°F, the proteins responsible for that natural sweetness begin breaking down further and the milk can pick up a scalded flavor that no amount of good pour technique will disguise. A cheap clip-on thermometer removes the guesswork entirely, and it's one of the lowest-cost upgrades available to anyone steaming milk regularly.
Rattleware 20oz Macchiato Milk Frothing Pitcher
Drip-resistant spout, comfortable handle, sized to leave room for the whirlpool motion, $24.99
“Great steamed milk isn't foam. It's milk with tiny, evenly distributed bubbles folded into it, which is a completely different texture than most people picture when they hear the word foam.”
The Whirlpool Technique, Step by Step
- Fill the pitcher to just below the spout's base, roughly a third full, leaving genuine room for volume to expand as air incorporates.
- Purge the steam wand briefly before inserting it, clearing any condensed water from the tip.
- Position the tip just below the surface, off-center, and open the steam fully.
- Listen for a light, consistent hissing or tearing sound for the first few seconds. That's air being introduced; stop adding air once the pitcher feels warm to the touch, roughly body temperature.
- Lower the pitcher slightly or submerge the tip a touch deeper to stop aerating and start the spinning whirlpool that refines existing bubbles into microfoam.
- Watch the thermometer, not the clock, and cut the steam at your target temperature, 140 to 150°F.
- Tap the pitcher on the counter and swirl it briefly to pop any remaining large bubbles before pouring.
Common Mistakes
Three problems account for most bad steamed milk. Big, audible bubbles or spitting usually mean the wand tip is too shallow or too far off-center. A flat, watery result with no real foam usually means aeration stopped too early or the tip sat too deep the entire time. And a scalded, overly hot result almost always traces back to skipping the thermometer and guessing by feel, which is far less reliable than it seems until you've steamed a few hundred pitchers.
Does Milk Type Change the Technique
Non-dairy milks behave differently enough that the same technique doesn't automatically transfer. Oat milk, particularly barista-formulated versions, textures reasonably close to dairy since it's specifically engineered with added fats and stabilizers for that purpose. Almond and other lower-fat alternatives foam more thinly and are more prone to splitting or curdling if overheated, so a slightly lower target temperature, closer to 130 to 140°F, and a gentler aeration phase both help. If a non-dairy milk keeps failing to texture well, the milk itself, not your technique, is usually the actual variable to change first.
Practicing Without Wasting Milk
Whole milk textures more easily than skim, since its higher fat content stabilizes foam better, which makes it the more forgiving choice to practice on before switching to whatever milk you actually drink day to day. If cost is a concern, plain water with a small amount of dish soap foams similarly enough to drill wand angle and whirlpool motion, though it won't replicate milk's actual heating and sweetening behavior.
Once the texture is right, how much of it you actually need depends on the drink. Our cortado vs flat white vs cappuccino vs latte guide covers the exact foam-to-milk ratio each one calls for, and our best milk pitchers guide covers the pour side of turning good texture into an actual poured design.
Expect this to take longer to feel natural than most espresso technique does. Reading a pitcher by sound and touch, rather than a fixed timer, is a skill built through repetition, and even a consistently good espresso setup won't shortcut that learning curve for the milk side of the drink.