Cupping is the standardized tasting method the specialty coffee industry uses to evaluate beans, and it's built specifically to strip out every variable except the coffee itself. No espresso machine, no pour-over technique, no barista skill to account for. Just hot water, ground coffee, and a consistent process that lets you compare beans against each other, or compare the same bean at different roast dates, without your brewing method getting in the way of the judgment.
The Specialty Coffee Association's cupping protocol is built for professional labs, but the core version scales down to a kitchen counter with nothing more exotic than a scale, a kettle, and a handful of matching bowls or mugs.
The Ratio and Water Temperature That Actually Matter
The standard protocol uses 8.25 grams of coffee, give or take a quarter gram, per 150ml of water, which works out to roughly a 1:18 ratio. Water should be heated to 200°F, or 93°C, plus or minus about 2 degrees. This is slightly hotter than many pour-over recipes call for, and it's deliberate: cupping is meant to fully extract everything a bean has to offer so you're tasting its full range, not a version optimized for pleasant drinking.
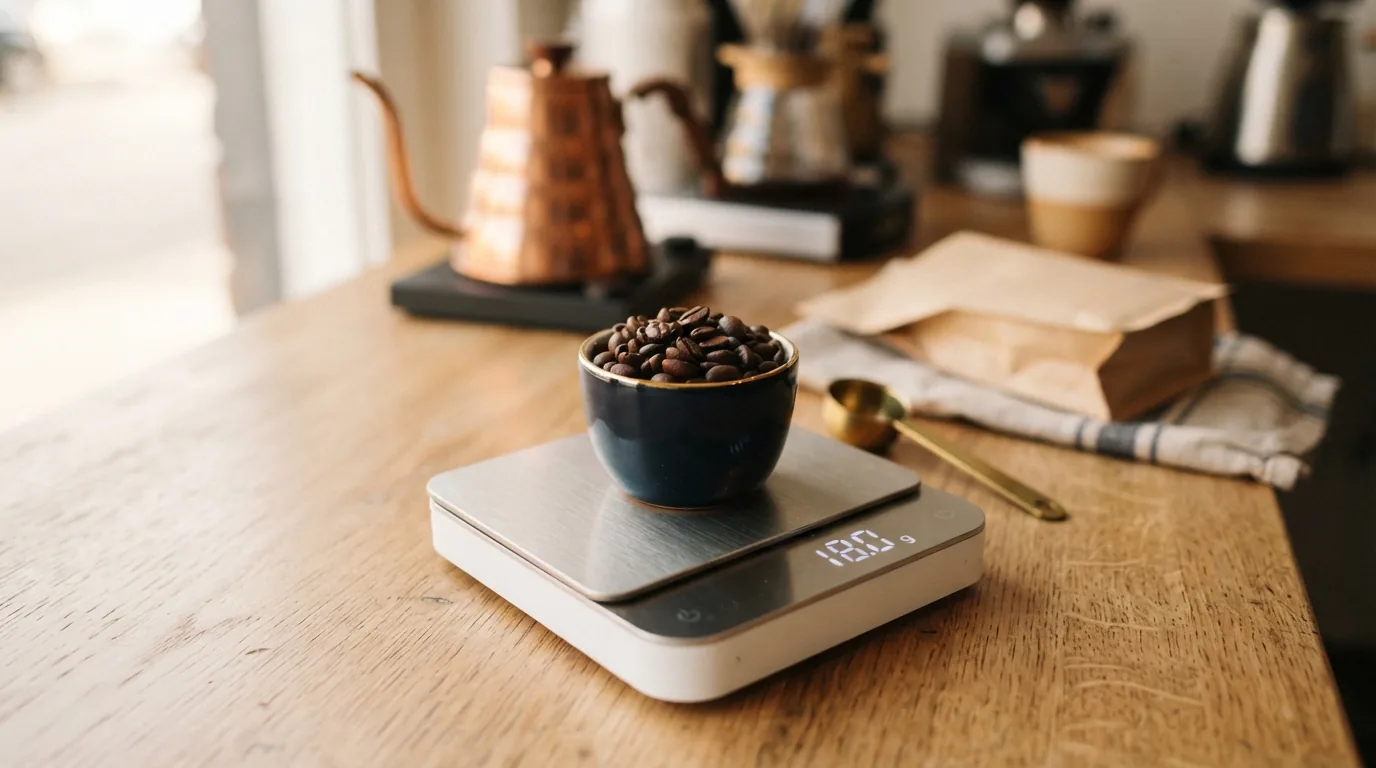
Acaia Pearl Coffee Scale
0.1g precision and a built-in timer, the accuracy cupping's fixed ratio actually requires, $200.00
Grind Size and Setting Up Multiple Cups
Grind for cupping is coarser than espresso, roughly in line with a standard drip or pour-over grind, and it should happen immediately before water touches it, not sitting ground for an hour beforehand. If you're comparing multiple beans side by side, which is really the point of cupping at all, use identical bowls or mugs for every sample and grind each one fresh right before its turn, so no sample sits exposed to air longer than another.
Step One: Smelling the Dry Grounds
Before any water touches the coffee, smell the dry grounds directly, ideally within about 15 minutes of grinding. This is the fragrance stage, and it's evaluating a completely different thing than the aroma you'll get after brewing. Note what comes through: floral, fruity, nutty, chocolatey, spicy, herbal. Writing even a one-word impression down before moving on gives you something concrete to compare against the wet aroma later.
Step Two: Pouring and the Four-Minute Steep
Pour the hot water directly over the grounds, saturating them fully, and let the coffee steep undisturbed for exactly four minutes. Grounds will form a crust that floats to the surface during this time; leave it alone until the timer hits four minutes.
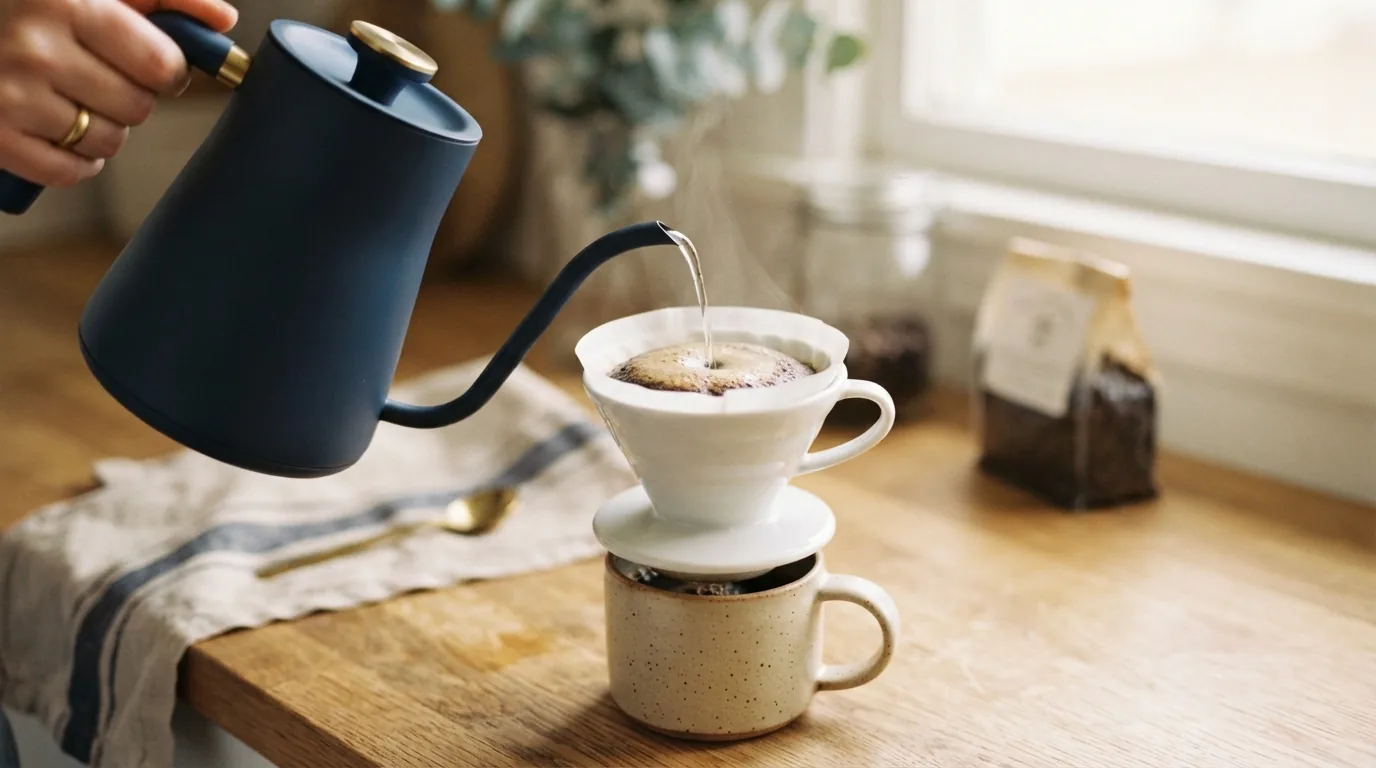
Bonavita Variable Temperature Digital Gooseneck Kettle
Six preset temperatures including a setting close to cupping's 200°F target, LED display for precision, $79.95
Step Three: Breaking the Crust
At the four-minute mark, break the crust by stirring gently with a spoon, three passes through the surface, and lean in to smell the aromatics released as the crust breaks apart. This is arguably the single most revealing moment in the entire process; the burst of aroma released at crust-break tells you more about a bean's character than almost any other step, professional or otherwise.
“Cupping isn't a fancier way to drink coffee. It's a deliberately unflattering one, built to expose exactly what a bean is instead of how well you brewed it.”
Step Four: Tasting by Slurping
Skim the floating grounds off the surface with two spoons, then begin tasting around the eight to ten minute mark, once the coffee has cooled enough to taste without burning your palate. Professional cuppers slurp loudly and deliberately, pulling the coffee across the tongue as a fine spray rather than sipping normally; that aeration spreads the coffee across more taste receptors at once and is genuinely more informative than a normal sip, even if it feels strange the first few times.
Tasting Across Temperatures, Not Just Once
A coffee tastes different hot, warm, and at room temperature, and different flaws or qualities show up at each stage. A bean that tastes flat while piping hot sometimes reveals real sweetness and complexity once it cools; a coffee that tastes fine hot can turn muddy or flat as it cools too. Professional cupping sessions taste the same sample repeatedly as it moves through this temperature range rather than forming a judgment from one pass.
What to Actually Do With This at Home
The most practical home use for cupping isn't formal scoring, it's comparison. Cup two bags side by side, one you already like and a new one you're deciding on, using the identical ratio and process for both, and you'll have a far more honest read on the actual difference than judging each one separately across different mornings, different grinds, and different moods. It's also the fastest way to notice when a bag you've been buying for months has started tasting different, before it's obvious in your normal cup. Our coffee bean storage guide covers what's usually behind that kind of drift.